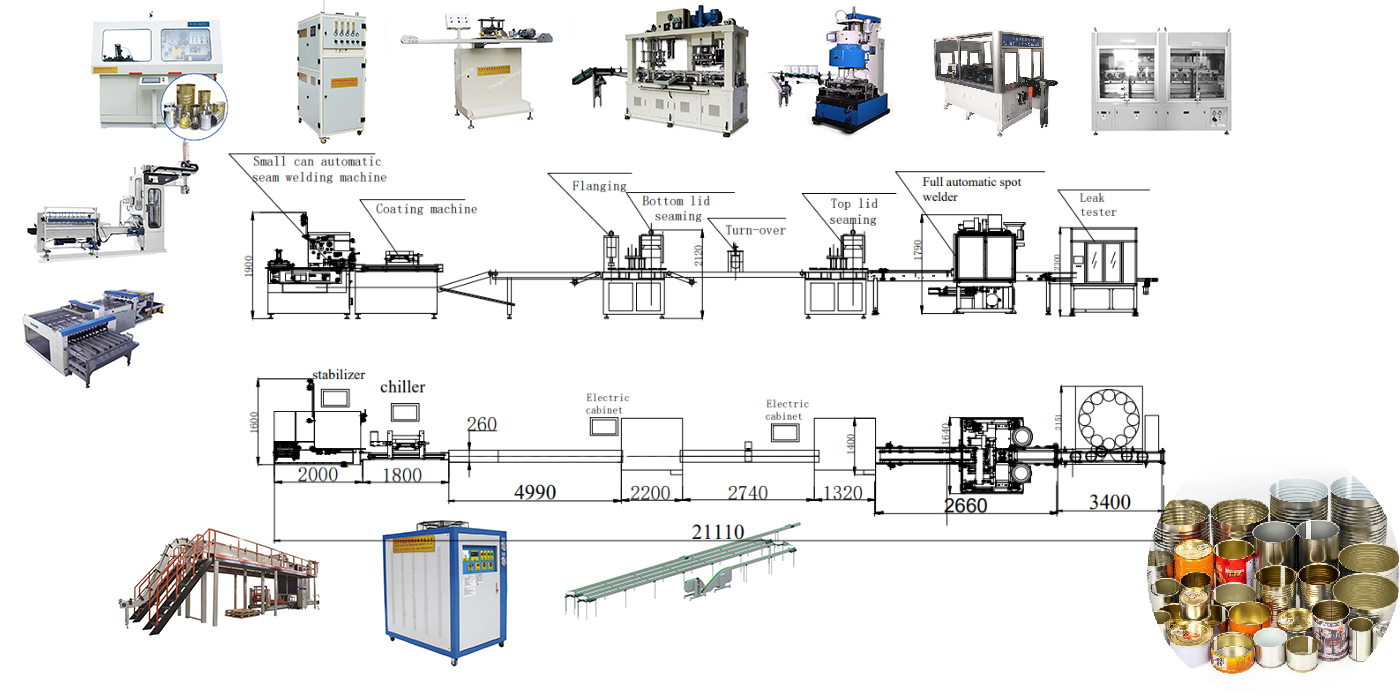
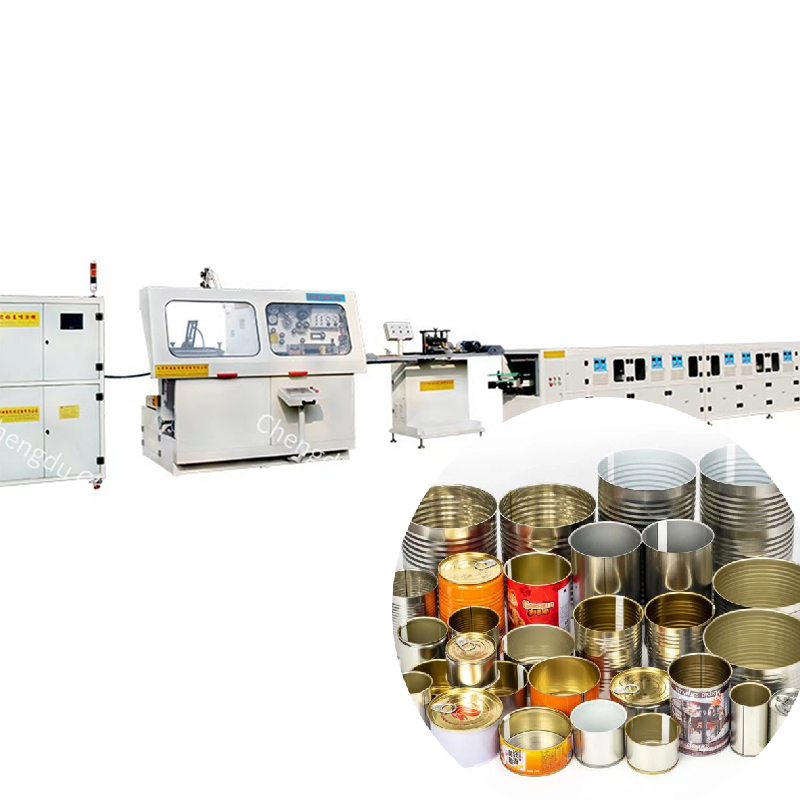
Steps in the Tray Packaging Process for Food Three-Piece Cans:
1. Can Manufacturing
The first step in the process is the creation of the three-piece cans, which involves several sub-steps:
- Body Production: A long sheet of metal (typically tinplate, aluminum, or steel) is fed into a machine that cuts it into rectangular or cylindrical shapes. These sheets are then rolled into cylindrical bodies, and the edges are welded together.
- Bottom Formation: The bottom part of the can is formed using a metal blank that is stamped or deep-drawn to match the diameter of the can's body. The bottom is then attached to the cylindrical body using a method such as double seaming or welding, depending on the design.
- Top Formation: The top lid is also created from a flat metal sheet, and it is typically attached to the can body later in the packaging process after the food is filled into the can.
2. Cleaning and Sterilization of Cans
Once the three-piece cans are formed, they are thoroughly cleaned to remove any residues, oils, or contaminants. This is important to ensure the integrity of the food inside and to prevent contamination. Cans are often sterilized using steam or other methods to make sure they are safe for food use.
3. Tray Preparation
In the tray packaging process, trays or crates are prepared to hold the cans before they are filled with food. The trays can be made from materials such as cardboard, plastic, or metal. The trays are designed to keep the cans organized and prevent damage during transport. For some products, the trays may have compartments to separate different flavors or types of food.

4. Food Preparation and Filling
The food product (such as vegetables, meats, soups, or ready-to-eat meals) is prepared and cooked if necessary. For example:
- Vegetables might be blanched (partially cooked) before being canned.
- Meats may be cooked and seasoned.
- Soups or stews may be prepared and mixed.
Once the food is prepared, it is fed into the cans via an automatic filling machine. The cans are typically filled in an environment that ensures hygiene and food safety standards are met. The filling process is done under strict temperature control to maintain the integrity of the food.
5. Sealing the Cans
After the cans are filled with food, the top lid is placed on the can, and the can is sealed. There are two primary methods for sealing the lid to the body of the can:
- Double Seaming: This is the most common method, where the edge of the can body and the lid are rolled together to form two seams. This ensures the can is tightly sealed, preventing leakage and ensuring the food remains protected.
- Soldering or Welding: In some cases, especially with certain metal types, the lid is welded or soldered onto the body.
Vacuum Sealing: In some cases, the cans are vacuum-sealed, removing any air from inside the can before sealing it to enhance the shelf life of the food product.
6. Sterilization (Retort Processing)
After the cans are sealed, they often undergo a retort process, which is a type of high-temperature sterilization. The cans are heated in a large autoclave or pressure cooker, where they are subjected to high heat and pressure. This process kills any bacteria or microorganisms, extending the shelf life of the food and ensuring its safety. The exact temperature and time depend on the type of food being canned.
- Steam or Water Bath Retort: In this method, the cans are submerged in hot water or steam and heated to temperatures of around 121°C (250°F) for a set time, typically 30 to 90 minutes, depending on the product.
- Pressure Cooking: Pressure cookers or retorts help ensure that the food inside the cans is cooked to the desired temperature without compromising quality.
7. Cooling and Drying
After the retort process, the cans are rapidly cooled using cold water or air to prevent overcooking and to ensure they reach a safe temperature for handling. The cans are then dried to remove any water or moisture that may have accumulated during the sterilization process.
8. Labeling and Packaging
Once the cans are cooled and dried, they are labeled with product information, nutritional content, expiration dates, and branding. Labels can be applied directly to the cans or printed onto pre-formed labels and wrapped around the cans.
The cans are then placed into the prepared trays or boxes for transportation and retail distribution. The trays help protect the cans from damage and facilitate efficient handling and stacking during shipping.
9. Quality Control and Inspection
The final step involves inspecting the cans to ensure there are no defects, such as dented cans, loose seams, or leaks. This is typically done through visual inspection, pressure testing, or vacuum tests. Some manufacturers also conduct random sample testing for things like taste, texture, and nutritional quality to ensure the food inside is up to standard.
Benefits of Tray Packaging for Food Three-Piece Cans:
- Protection: The cans provide a robust barrier against physical damage, moisture, and contaminants, ensuring the food stays fresh and safe for long periods.
- Preservation: The vacuum sealing and sterilization processes help preserve the food’s flavor, texture, and nutritional content while extending its shelf life.
- Storage Efficiency: The uniform shape of the cans allows for efficient storage and stacking in trays, which maximizes space during transportation and retail display.
- Consumer Convenience: Three-piece cans are easy to open and handle, making them a convenient packaging option for consumers.
Overall, the tray packaging process for food in three-piece cans ensures the food is safely packed, preserved, and ready for distribution while maintaining the quality and integrity of the product inside.
Post time: Nov-25-2024


